Purchase Bills
A Purchase Bill is the accounting record that confirms what you owe a vendor. Think of it this way: a Purchase Order is the purchasing commitment, while the Bill is the payable document that posts the debt into Accounts Payable.
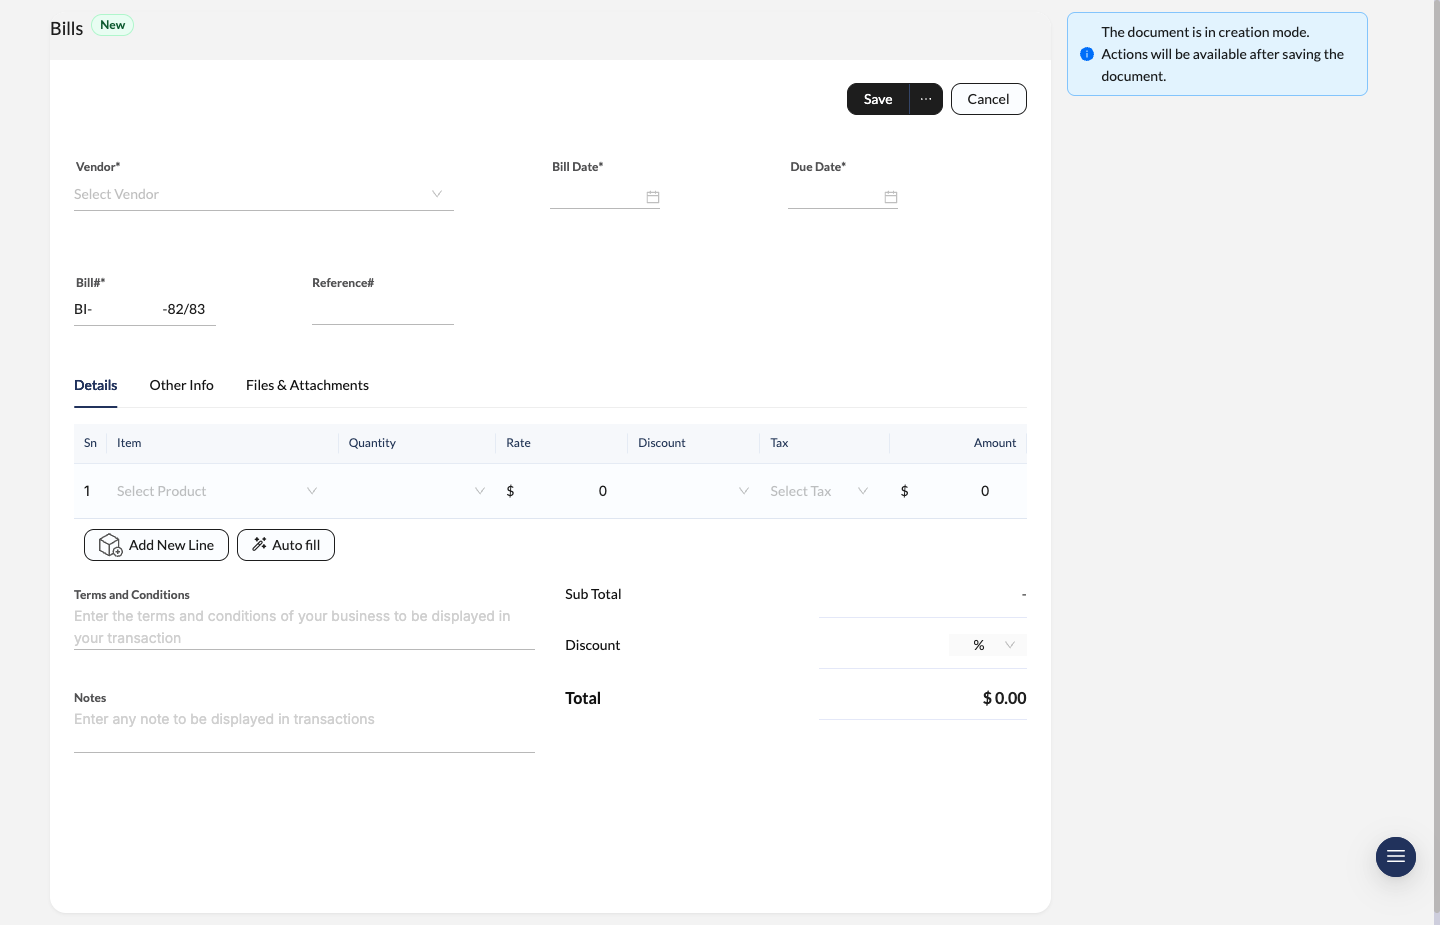
Purchase Bill creation screen with vendor details, bill and due dates, item lines, and totals.
Create a New Bill
Start the bill
Navigate to Bills and click New.
Enter vendor and date details
Select the Vendor, then fill in:
- Bill Date
- Due Date
- Bill#
- Reference# for the vendor’s own invoice number if you need it
Add the billed items
Use the item table to enter the products or services on the vendor invoice.
- Item
- Quantity
- Rate
- Discount
- Tax
Review totals and save
Add any Terms and Conditions or internal Notes, confirm the Sub Total and Total, then click Save.
Anatomy of a Bill
When you open a specific bill (like BI-1-81/82), you’ll see a complete, easy-to-read breakdown of everything related to that transaction.
Header Details
- Vendor: The supplier who sent you the bill.
- Bill Date: The day the vendor invoice was issued.
- Due Date: The payment deadline used for overdue tracking.
- Bill#: Your internal bill number (for example,
BI-1-81/82). - Reference#: The supplier’s own invoice number or an external reference.
Item Table
This handy section lists all the specific products or services you’re being billed for, including:
- Item Name & SKU (e.g.,
KT-R-3L). - Quantity, Rate, and Discount.
- Tax: The exact tax rule applied (e.g., VAT 13%).
Bill Status Lifecycle
Check the top right corner! The status bar is your quick visual cue for the financial state of the bill:
- Draft: You’re still preparing the bill — no final payable action yet.
- Open: The bill is finalized and just waiting to be paid.
- Partially Paid: You’ve paid a portion of the total amount, but there’s still a balance left (Highlighted in Blue).
- Paid: Congratulations, the full amount is settled! (Highlighted in Green).
- Overdue: The due date has passed without full payment (Highlighted in Red).
- Void: The bill was cancelled altogether.
Managing Payments & Credits (Sidebar)
Look to the right side of your screen! This sidebar is your best friend for settling debts and managing any returns directly from the bill view.
1. Recording Payments
You can record payments in two convenient ways:
- Top Action Bar: Click Record Payment from the bill toolbar.
- Sidebar Quick Action:
- Pay All: Clicking this instantly kicks off the full payment workflow for your remaining balance (e.g., “Rs 34,82,459.65 to Pay”). Quick and easy!
Once you log a payment, it’ll pop right into the Payments list in the sidebar with a unique ID (like PM-95-82/83). Want to see more? Just click the vertical dots to view or edit the details.
2. Vendor Credits (Returns)
Sometimes things don’t work out. If you need to return items or get a refund/credit from a vendor, the Vendor Credits section in the sidebar has your back.
- Credit All: Automatically generates a Vendor Credit for the full value of the bill items.
- Manual: Lets you choose specific lines or values for a partial credit.
- Applied Credits: Existing vendor credits can be applied directly against the bill balance.
Other Handy Actions
- Clone: Love this bill? Duplicate it to create a brand new one with all the exact same details.
- Print: Need a hard copy? Generate a physical or PDF copy of the bill for your records.
Approval Workflow
Bills can also be controlled by approval policy.
- save the bill first,
- click Request Approval when approval is required,
- wait for the configured approver step,
- edit and re-submit if the request is rejected.
You can manage bill approval rules in Approval Policies.